Happy Thanksgiving! This time marks the three year anniversary I built my first ever bedroom studio setup. It was a moment filled with pride since it was something I’ve dreamed about while being in school. It was also one of the first few instances of spending my adult money which, when looking back at it, makes me feel really grateful! All this to say, I’ve learned a lot about music production since then and want to share the setup with you. I’ll explain why I bought what I did and maybe give some pointers on pitfalls to avoid when investing in gear. You don’t need to buy the latest and greatest equipment right away, which I’ll hopefully prove this as you continue reading.

Cable Management
Uploading this picture has made me realize the importance of cable management, which I’m not the best at. However, all that cable spaghetti is there for a reason. Much of what is on the floor are long XLR cables which connect to the subwoofer (the speaker underneath the piano keyboard) and the two white studio monitors. There’s also power cables tucked way in the back for the speakers and computer. Off to the right side, you’ll see a long spool of an ethernet cable that connects to the system. I tend to download lots of plugins and sample libraries so having faster download speeds is important to me. One more thing to note is the Denon DJ Controller has been moved and no longer sits on the desk. It’s certainly not as neat looking compared to other setups you’ll see but it gets the job done. A bunch of this can be addressed using cable ties to keep everything together or having shorter cable lengths. It’s just I built this when I was living in a different house and had to accommodate for the new space. When finding a spot, note the number of outlets around to plug stuff in. If there’s not enough, there are ways around it as I’ll discuss later. This is a long post so brace yourself!
Desk
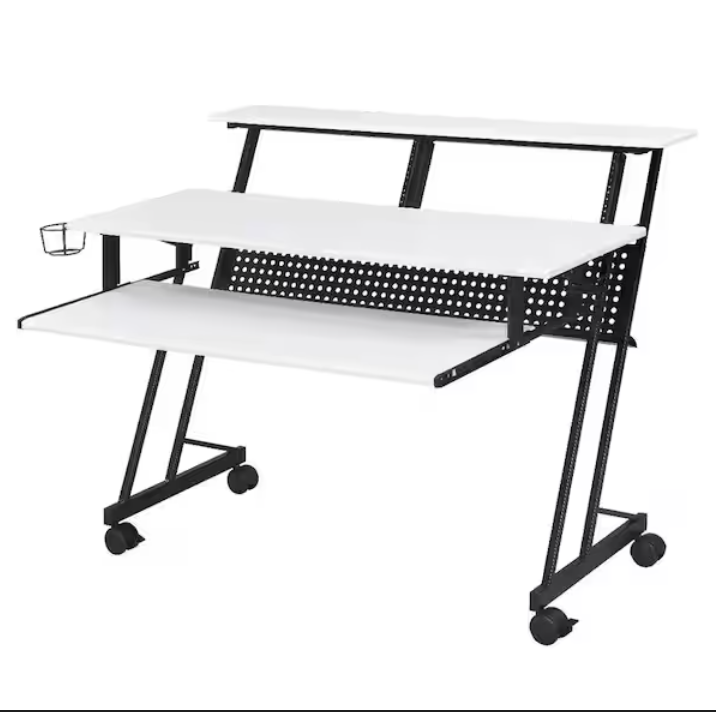
I really like this desk! It was about $200 when I bought it off Amazon and was easy to assemble! The highlights of this desk are really in the small things. It has a cup holder off to the left and a headphone rack on the right (not pictured). This is great for keeping water nearby and having my headphones within reach when I can’t use the studio monitors. The caster wheels are super nice for transporting and it comes with rackmount screws to put gear in. There’s even a little shelf in the very back behind the dotted grill area where I can hide extra screws and wrenches just in case. I think it’s really meant to hide cables but I’m too lazy to do that. I have my way of using it, but it’s cool seeing how other buyers implemented it in their workflow when reading reviews. It’s perfect for my needs and I highly recommend it!
Computer
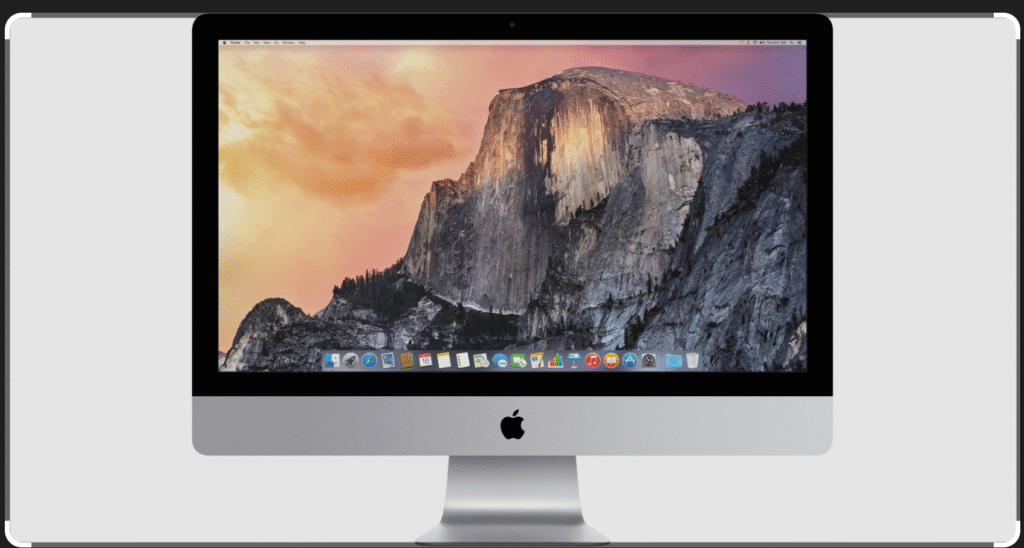
This is the part of the setup I’m hoping to upgrade since it’s over ten years old! I bought it off Facebook Marketplace (which I would do when starting out) and while it had my RAM (32Gb) and storage (1Tb) requirements, the storage is done on an internal hard drive as opposed to a solid state drive. This makes the machine slower overall since there’s a physical rotating disk that’s used to process everything. It doesn’t work as fast as I need it to and I often run into processing errors in Pro Tools (my DAW). On top of that, the hard drive is more prone to wear, tear and breaking which I can’t have happening. It’s supposed to cost over $300 to replace the hard drive with an ssd but I’d rather put that money towards a new computer. I’m using some third party software to run the newest OS and version of Pro Tools. It gets really buggy which shouldn’t happen on newer M1 or higher systems. Save up for the M1 systems at least and if you’re using lots of sample libraries, use external drives to save space and find one with 16Gb of RAM at minimum.
Studio Monitors
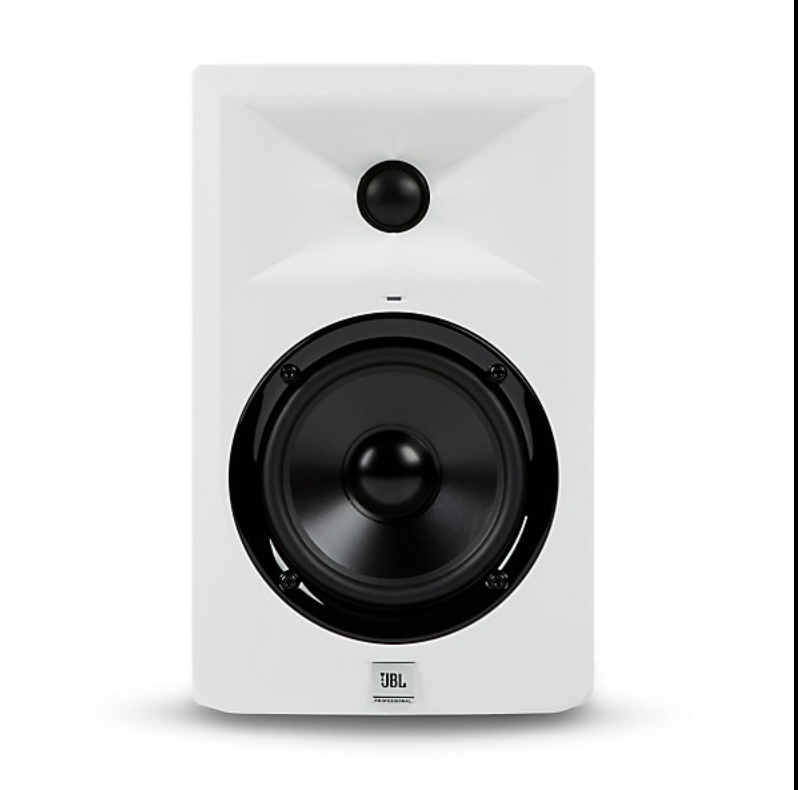
When I saw the desk was white, I knew I had to get the these monitors to match. These were also bought off Facebook and are great when starting out on a budget. The “5” represents the woofer size in inches. They have a version that is 8in too which can be useful if you want more low end but can’t afford a subwoofer. I honestly just use these to listen for fun but don’t rely on them for actual mixing purposes. I mainly mix in headphones since my bedroom isn’t acoustically treated. However, with the right environment, these can serve that purpose really well.
Subwoofer
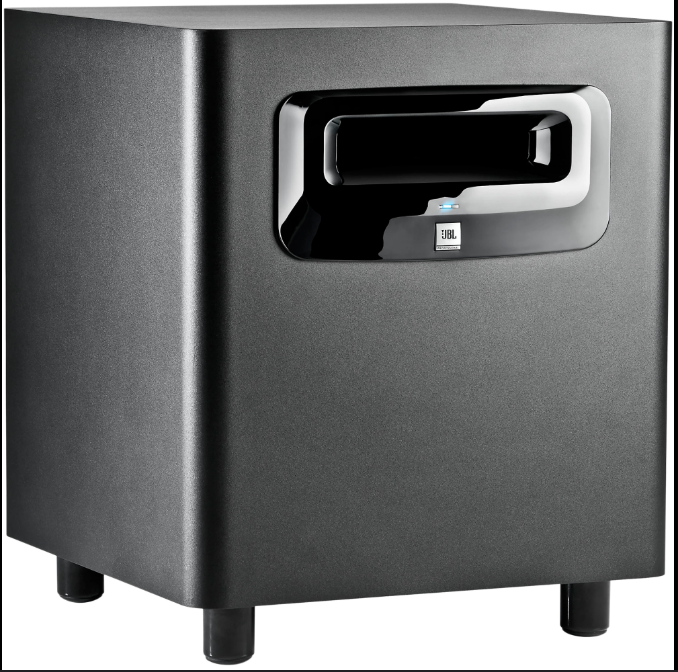
This is the subwoofer that comes from the same lineup as the monitors. While you can mix and match brands, I’d keep the set together if you can. This is because the subwoofer is already tuned to the monitors, meaning you don’t have issues figuring out what the crossover frequency is (the specific frequency number when the bass in the subwoofer gets separated into the mids and highs of the monitors). Plus, they had this exact setup in the edit suites at school so I got used to how they sounded. Even if you work off of speakers that don’t have a flat frequency response, where none of the bass or vocals are exaggerated, as long as you know your system, you can make the necessary adjustments.
Audio Interface
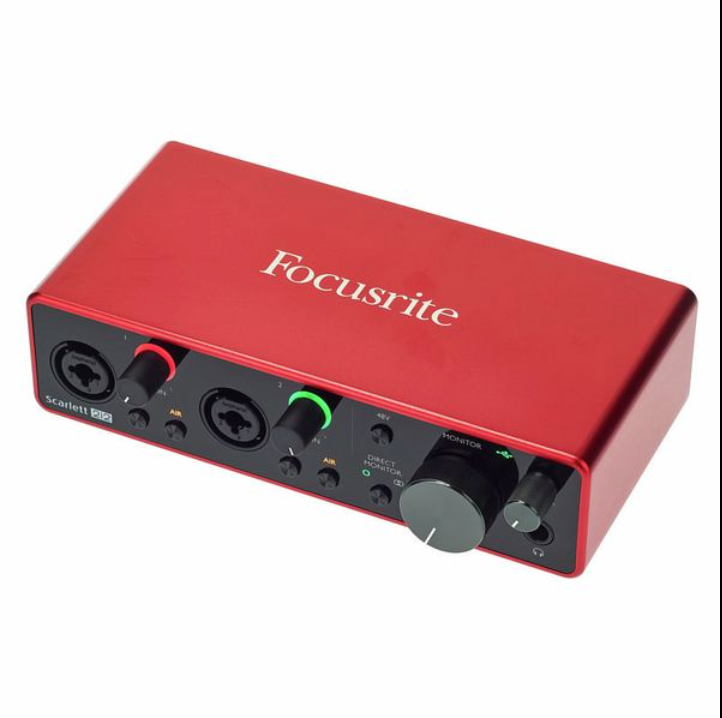
This is used to connect all my speakers and microphones together. This piece of gear is basically the holy grail for all beginner producers and for good reason. It’s cheap, built well, and sounds decent. Sure, there’s ones out there with better preamps and features but this does exactly what I need it to do. I think they came out with a newer version but this is still going strong after 5 years.
Power Conditioner
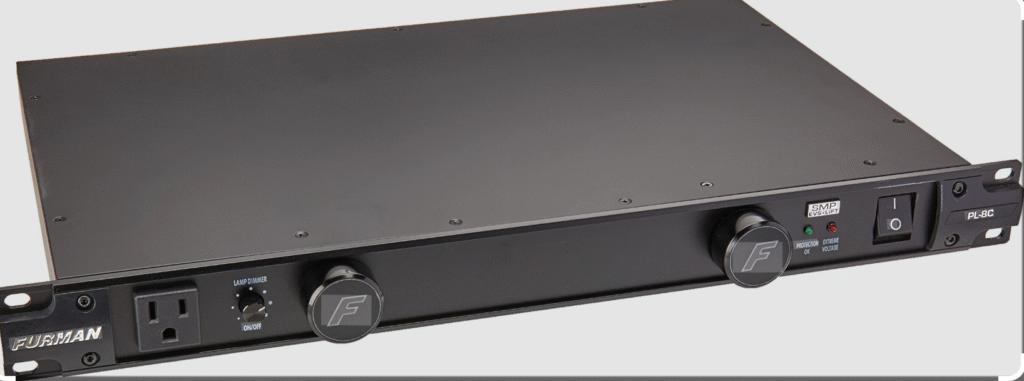
This is installed as rack gear inside the desk. It’s used to provide power to the speakers, computer and usb hubs. It’s heavy, meaning it’s built well. It was also a bit pricey but it’s way better than the other one I had a couple years ago. I think I wasn’t looking at the specifications and the Pyle brand I originally had couldn’t power everything and just crapped out. Thankfully, it didn’t start any fire but you have to know what you’re buying and make sure the power conditioner can handle the wattage thrown at it.
Midi Keyboard

My midi keyboard I bought at a used bookstore! I bought it since I use Native Instruments software all the time but since it’s used, it is a little faulty. The octave buttons and one of the black keys aren’t that responsive. I’m hoping to get a new one eventually but it still works for now!
External Drives
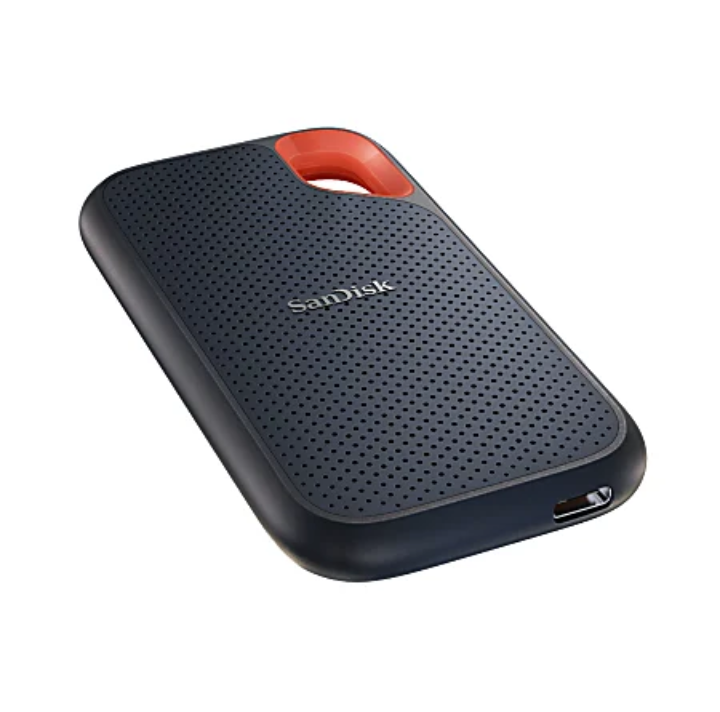
I use this to hold all my samples and sample libraries. I have 2 or 3 in total. Because they’re solid state, they are fast and responsive. They’re very useful to have as backups in case something goes haywire.
Usb Hub
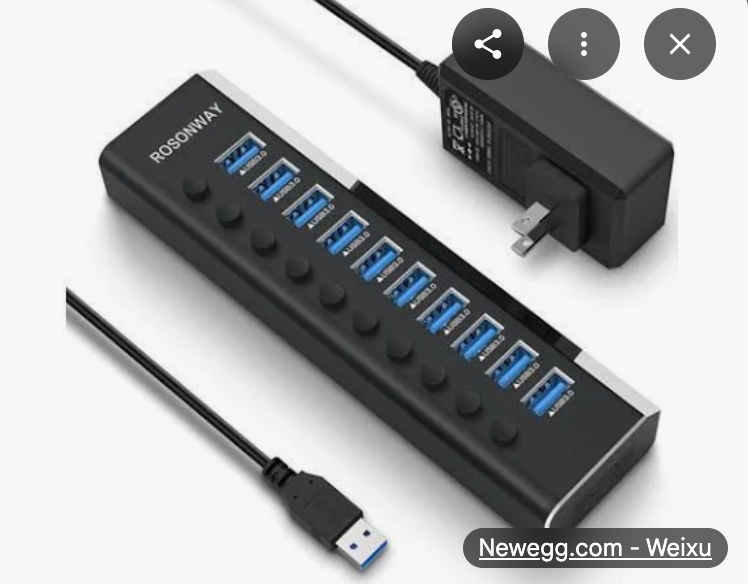
Because I have all those USB devices, this is used to plug everything in! I’ll probably have to add another one soon if I get more SSDs and other instruments.
Conclusion
That’s mostly everything! Much of this you don’t need when starting out and I gathered this stuff over the past 3 years I’ve been out of school. It’s easy to fall into a trap of buying too much gear you’ll hardly use (aka Gear Acquisition Syndrome). Once you hit a roadblock in your creative process and see no workaround, then consider upgrading, like I’m hoping to do with the computer. Also, make it your own personal hangout spot! You’ll see I have pictures hung around of some of my favorite artists with Bob Ross sitting up top and Shaq chillin’ on the side (I high five him before I make music each day). Little things like that do wonders on your mental health and creative process!